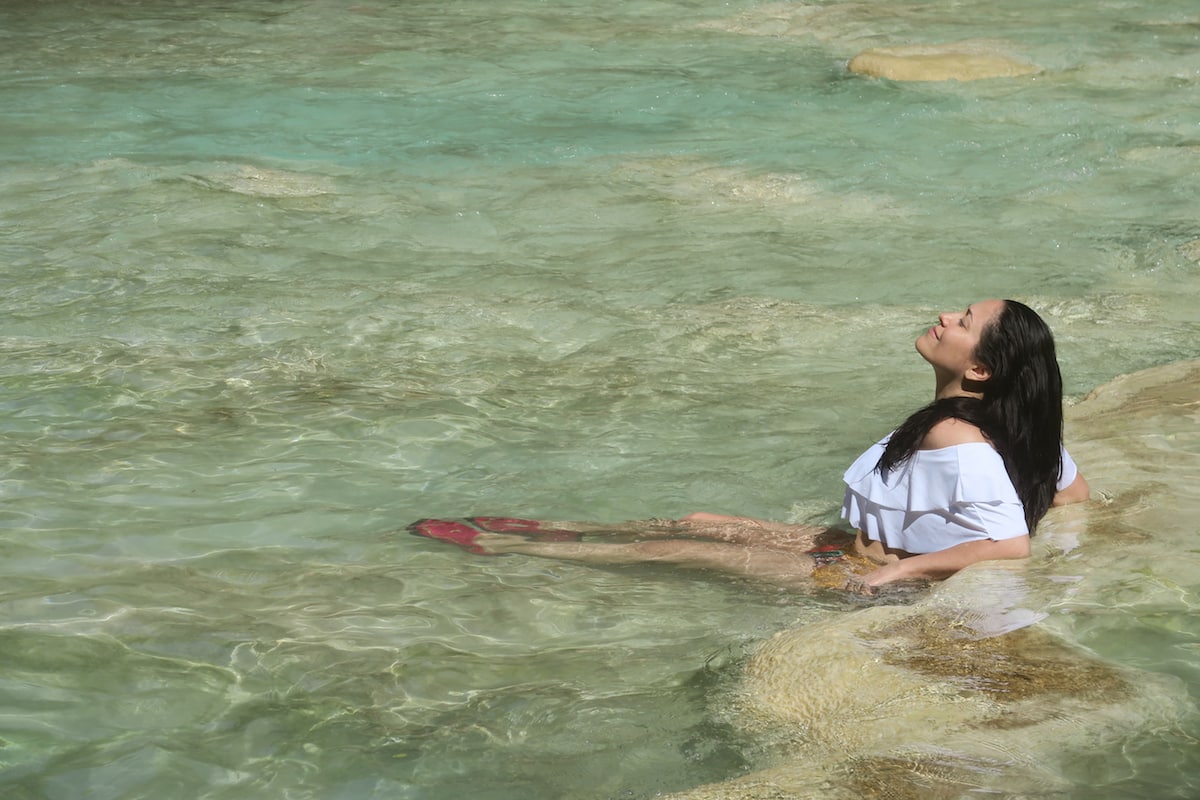
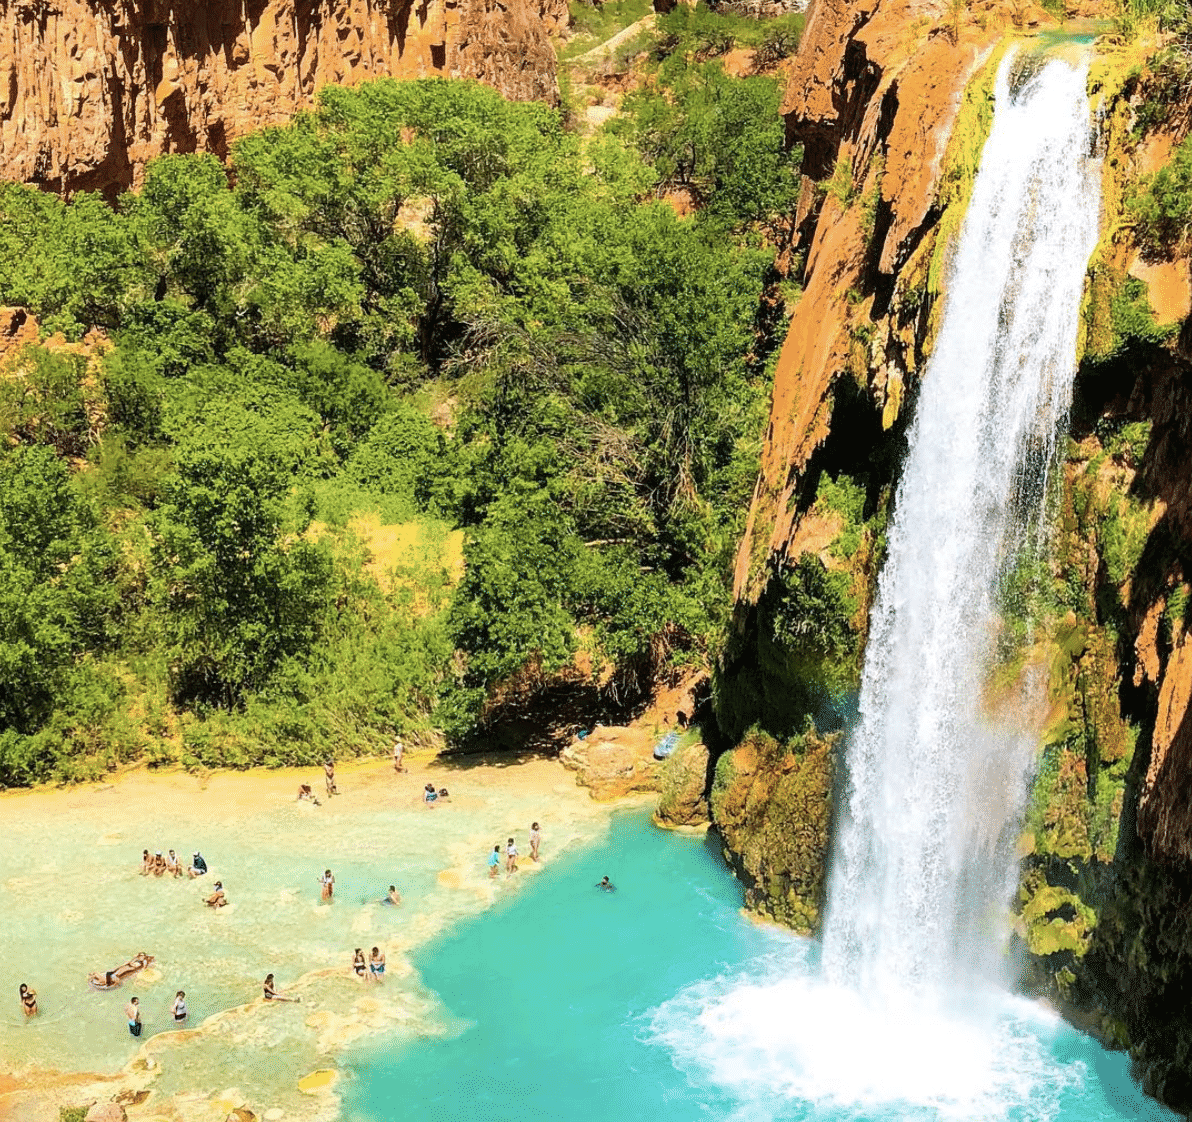
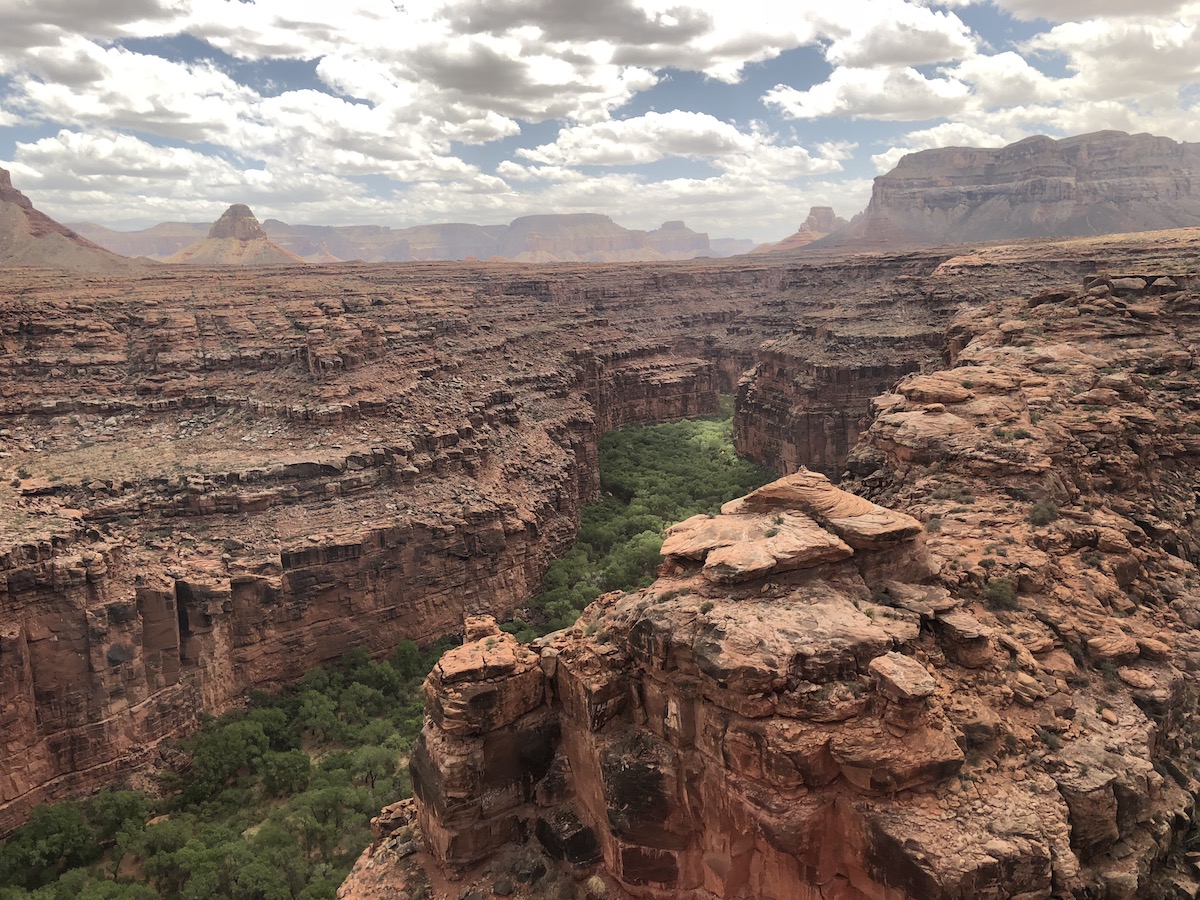
 One of the most instagrammed spots on earth is Havasupai Falls. The refreshing blue green falls nestled in the Grand Canyon landscape is enough to make you want to pack up and go right away. But don’t let the people frolicking in the inviting cool waters fool you, if you want to go, it takes a lot of planning and commitment. While the reward is totally worth it, let me share with you my tips on surviving the Havasupai Trail!
Ok, so first off, you need a permit. The park only allows a certain amount of hikers in per day and those permits sell out at lightning speed. They go on sale early in the year and you can find all the info you need about permits, camp site reservations, dos and don’ts on the Havasupai Official website. You can plan to mark your calendar to reserve you site and grab your permits but you can also get lucky!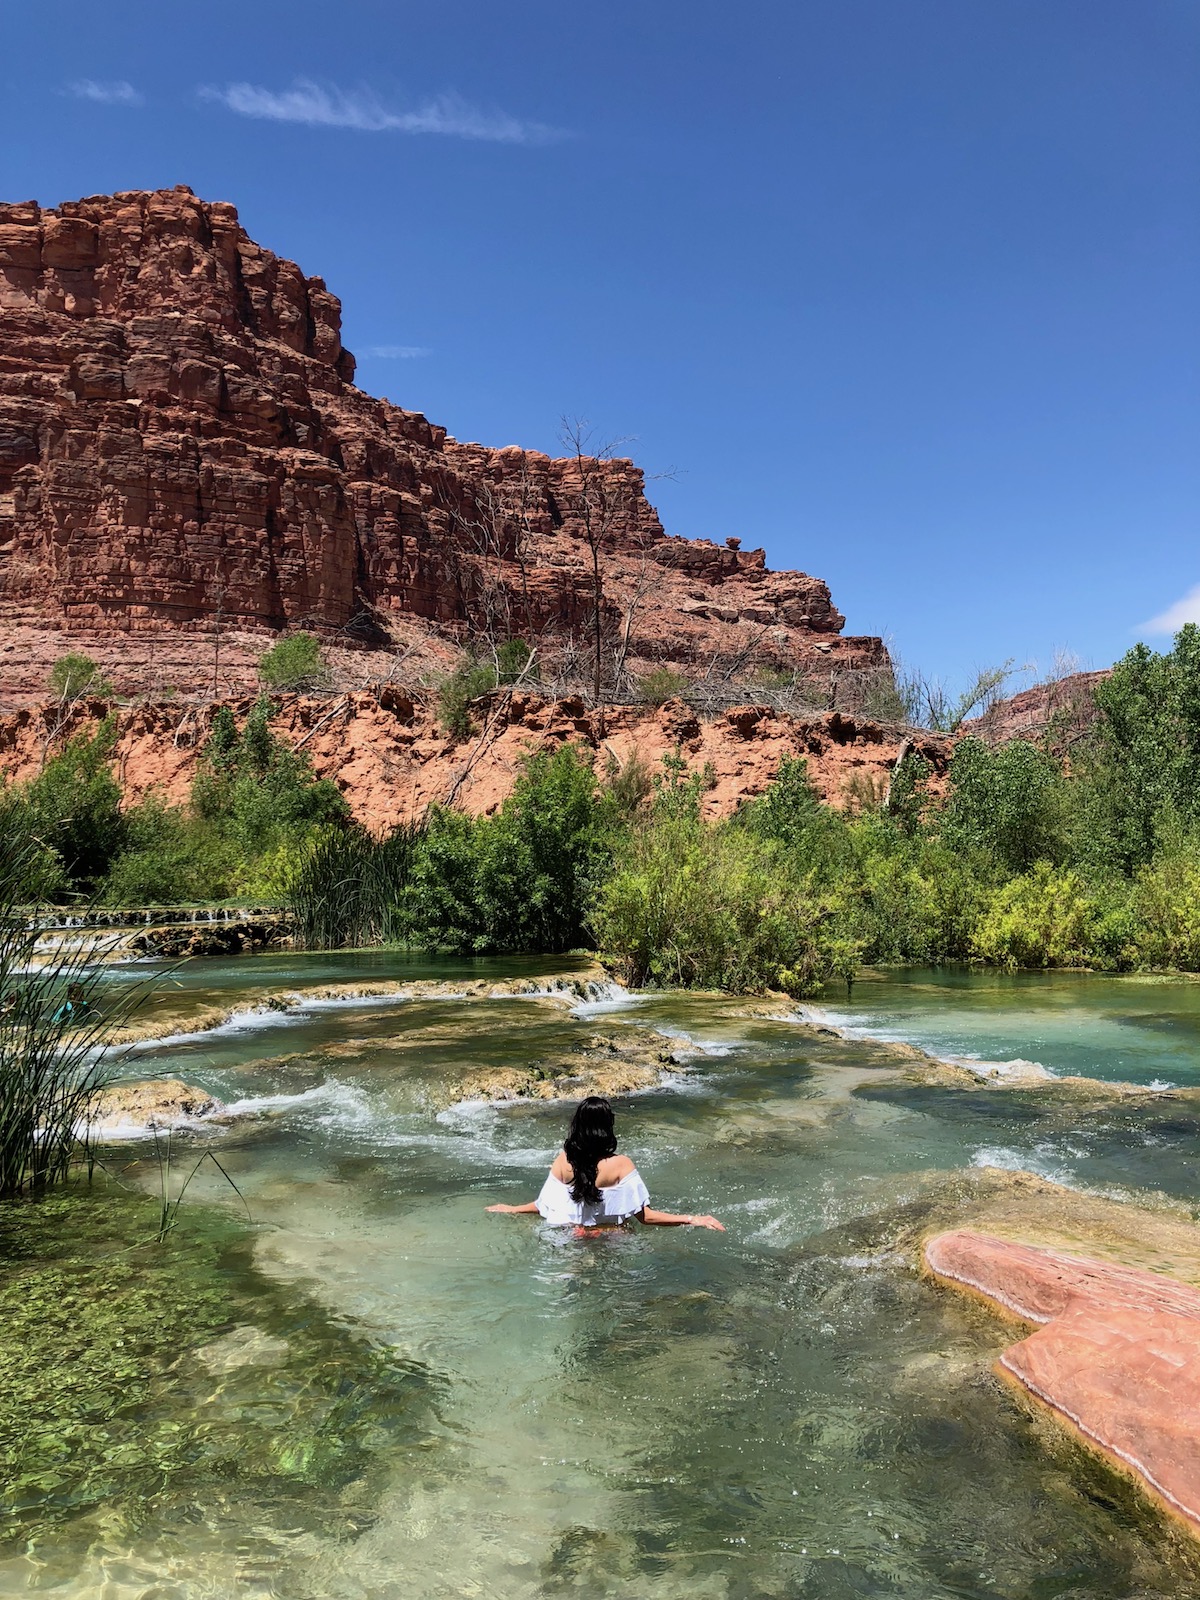
If you’re willing to roll the dice and you travel schedule is flexible, you can try your hand at getting a room at the Havasupai lodge, the only hotel in the village. There are many advantages to staying in the lodge such as:
- Reservations include each persons park permit
- It’s 2 miles shorter than hiking to the campsite (which after 8 miles of hiking, you’ll be so glad you don’t have an additional 2!)
- You have a comfy bed, hot shower and air conditioning – the camp site has no showers, porto-potties and you gotta bring your own camping gear
- Each room can sleep 4 comfortably so sharing the cost of the lodge can be quite affordable
- You are in the village so you’re close to the general store, cafe, clinic and helipad
That’s my 2 cents on reserving the lodge. I have to mention that getting a reservation can be tough and you are not able to book online. Reservations are taken over the phone only and the chances of you getting someone on the phone are about 1 in 10 times. But again, if you have the patience, try them as much as you can during and even a little after business hours, and lady luck may be on your side. Be sure to ask if there have been any cancellations as that may be the easiest way to get into the park sooner than later.
Yours truly called several times one day and my call was answered at 5:30pm. I couldn’t believe I got through and to my surprise, when I asked if they had any room that month, at first, the gal said they were booked for the next year but then realized she had a cancellation for 2 nights 2 weeks from then! I snatched them up! Woohoo!
That’s where the planning came in to prepare me for the 10 mile hike into the canyon plus what I would need to hike to the furthest falls, an additional 12 miles round trip from the campsite.
So, what is needed? I’ll share my top things to pack!
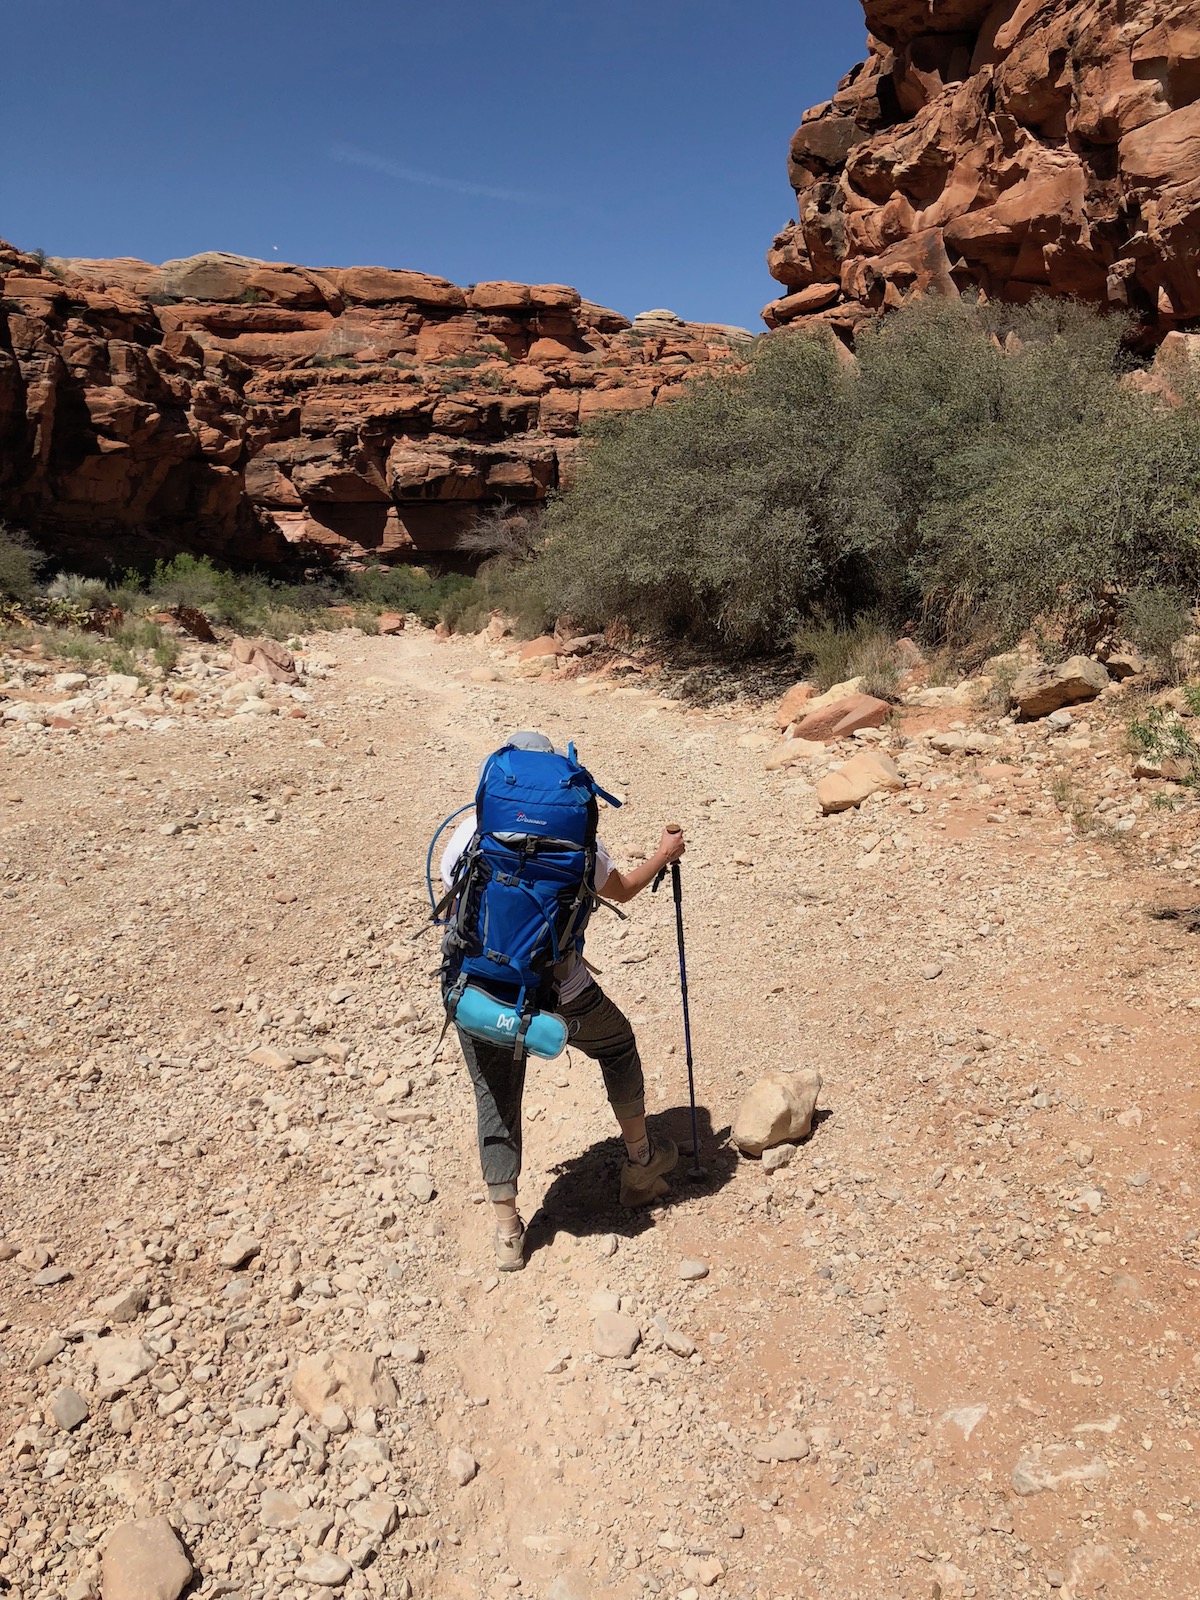
- A good hiking pack – Unless you have the funds, and the luck, to send your luggage down on the helicopter (it’s $85 per person, per flight and only runs on a first come, first serve basis) or you are cool with sending it down on horseback/donkey for $120, you’ll have to hike down with everything you need during your stay. So I suggest you search for a high quality backpack like a Mountaintop. I loved mine as I got it super cheap on amazon and not only was it sturdy with lots of great compartments, including one for may camelback water bladder and straw, it had a great sizing mechanism to help offset the weight properly, off my back and shoulders and onto my hips. You may want to go to a store like REI to get properly fitted for a pack as this will make all the difference on your long hike.

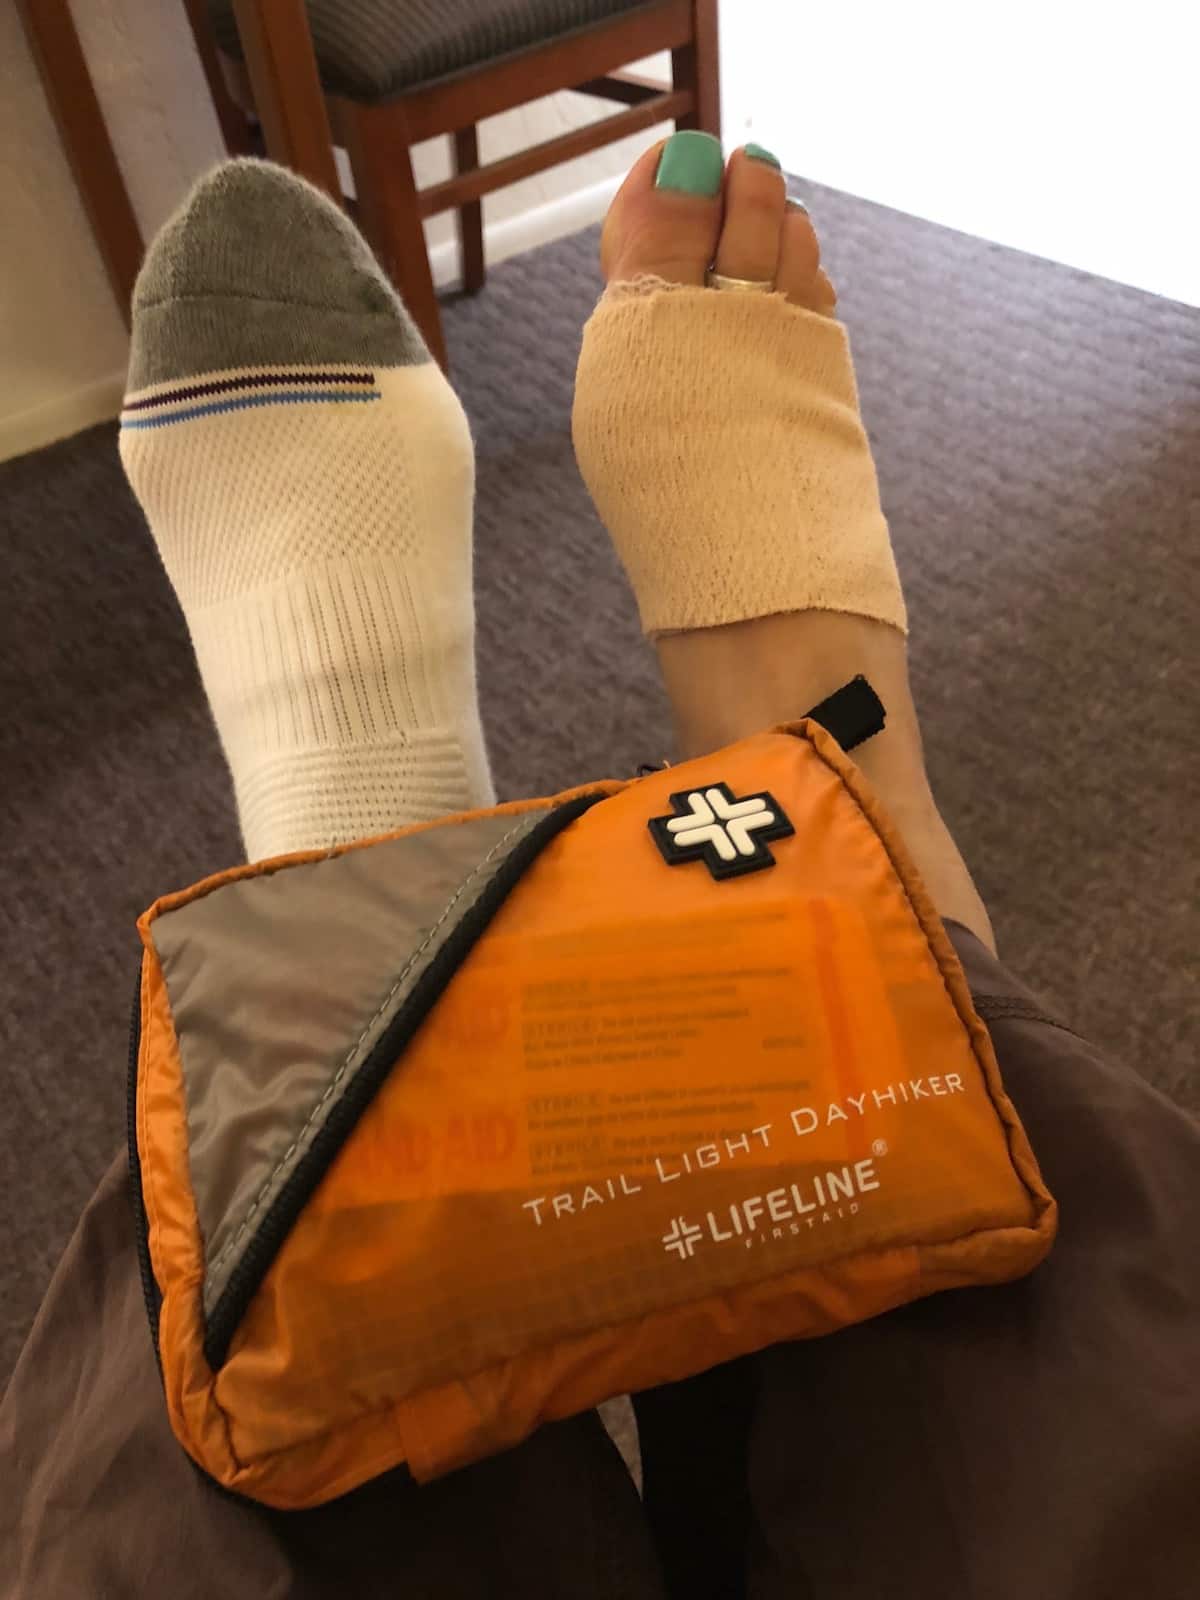
- Good, broken in, hiking shoes – This is where I went wrong and my feet paid for it so I’ll save you the possible pain. A good, comfortable, yet supportive shoe with good tread is key to a healthy hike. I learned this tip too late as I had a great pair of hiking shoes that I’d work a bunch but not on an uneven, rocky 8 mile hike downhill. What I learned is that you should get your shoes a size bigger and wear 2 pairs of socks, lock your foot in place with a heel lock technique and that way you will avoid your foot from sliding down, bruising your toes and skin rubbing, turning into painful blisters (that was me!)

- A gallon water bladder – Any time of year, but especially when you hike in the heat of spring and summer, you will need at least a gallon of water to get you down that hill as well as upon your return and on waterfall hiking days. While it seems like it will weigh you down, it’s worth it and honestly, a matter of life and death. There are no facilities once you leave the trail head until you arrive at the village 8 miles into the canyon so you need to be prepared. I love my Camelback 3 liter bladder as it comes with a handy straw that loops through my pack straps and I can have a handsfree sip whenever I need it.
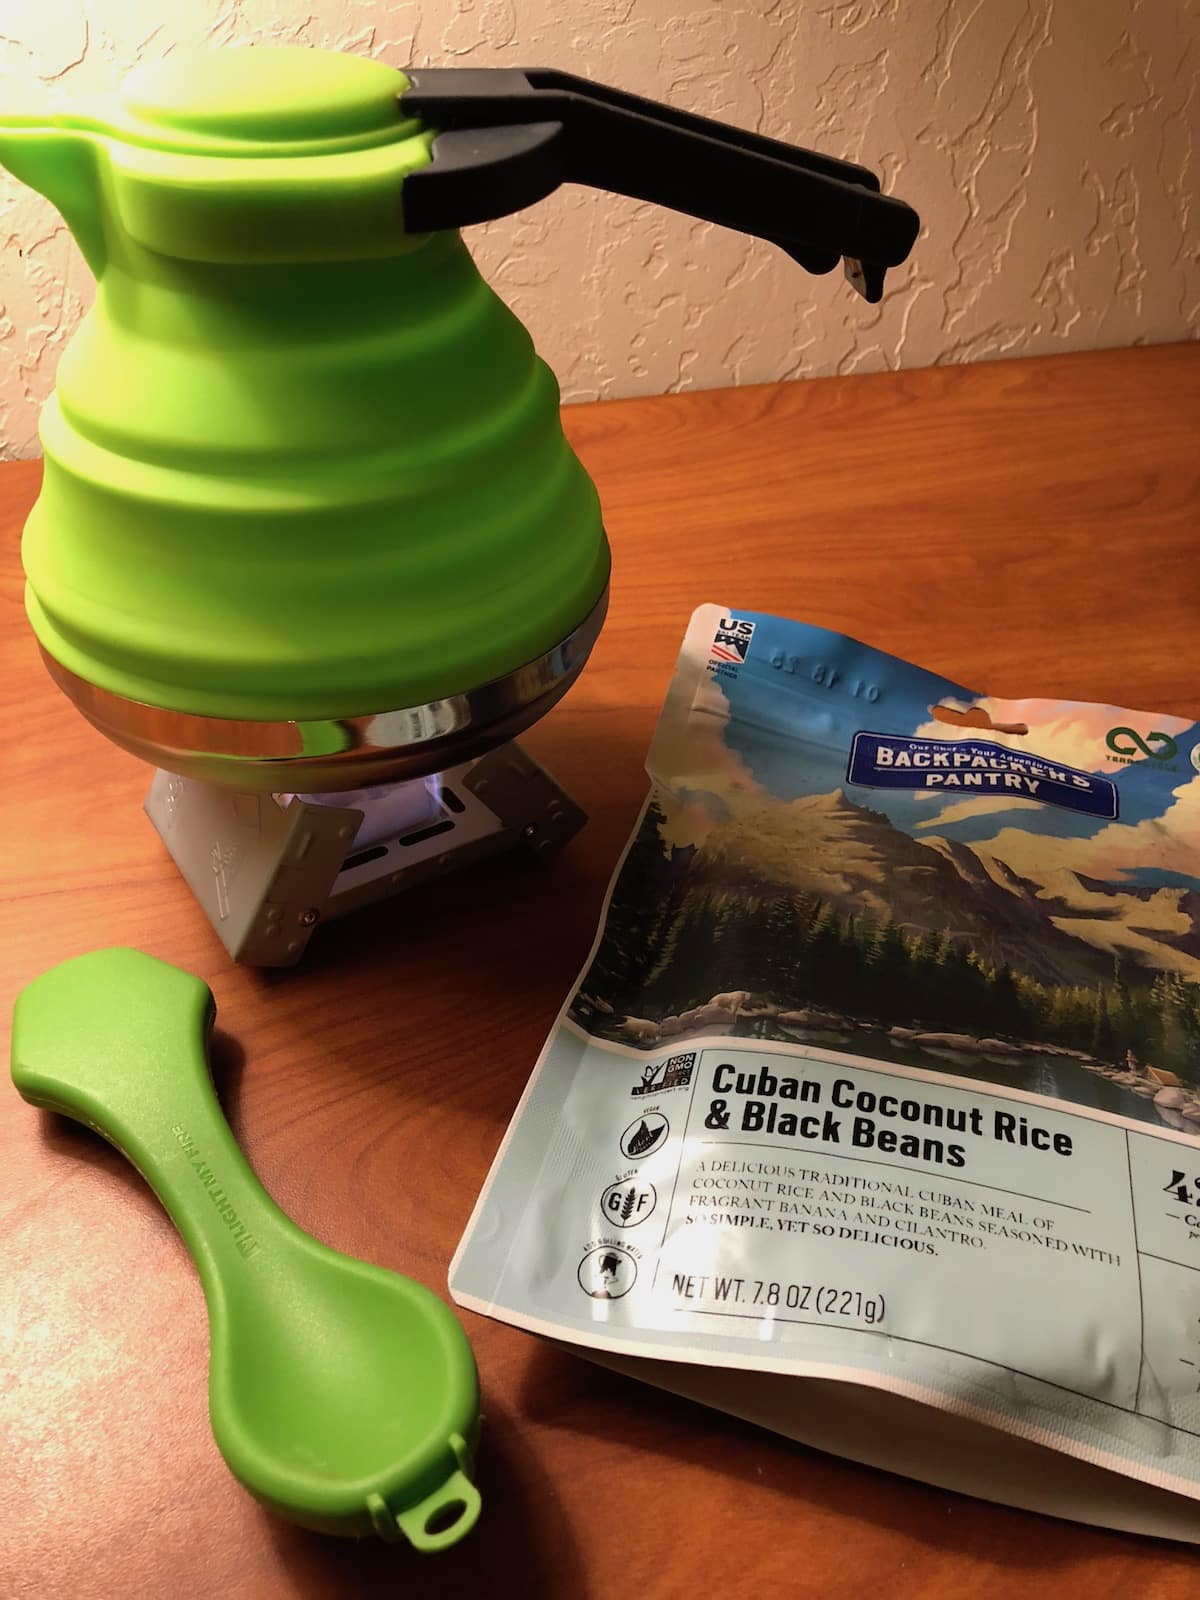
- Snacks, ready to heat and eat meals and a camp stove – While there is a cafe in the village and the campsite has a little food stand, the villagers tend to keep odd hours and close whenever they feel like it. So even if it says the cafe closes at 7, the 3 days I was there I noticed the closed inexplicably at 4:30, leaving many hikers without options for dinner. The general store also keeps odd hours so as a prepared traveler, it’s always good to plan ahead and bring what you need, no matter if you’re at the lodge or the campsite. I packed all sorts of healthy #vegan protein bars that could sustain me for hours like ProBar and for meals, I was beyond excited to have picked up a bunch of dehydrated meal packs.
 I had all sorts of tasty dinners like coconut rice and cuban black beans, a zesty quinoa and bean bowl, fruity oatmeal and even spaghetti. All those meals need to be torn open, 2 cups of hot water, mix, seal for 15 minutes, stir again and eat. So I invested in the simplest, and most lightweight, collapsible silicon kettle with metal bottom, a foldable silicon cup for measuring and the coolest little camp stove that was the size of a notecard and folded in a way that you can balance the kettle on it and boil. With my reusable utensils, my whole cooking set weighed no more than a pound. And it was a lifesaver!
- Water shoes with tread – While jumping in the clear water with reckless abandon is what everyone wants to do, there are sections of the falls that are rocky and rough as well as slippery. And getting injured is not an option if you have to hike out so a good pair of treaded water shoes is key, especially if you’ll be doing water crossings to the furthest falls. In fact, you can even hike in them for some time to give your feet a break from you hiking boots.
- A first aid kit – Yep, I was so happy to have a ton of bandaids, antibacterial wound gel, small scissors, tweezers and an ace bandage with me. In fact, I also brought muscle gel and a hand roller to work my sore muscles each night to help me recover for each day’s new hike ahead. Having some ibuprofen is also a good idea to help any headaches or pain.
- Sunscreen, sunglasses and a wide brim hat – The hike is wide open with very little shade so you need to protect yourself from the sun. While it may not look cool or sexy, neither does skin cancer so protect yourself from a painful burn.

- Day water bottle – Even though I had my 3 liter bladder, I had a 1 liter bottle in my hip pack for easy access. You can never have too much water! Plus, my hip pack was great so I didn’t have to take off my large pack during the hike so I had easy access to snacks and my phone for photo taking!
- Dry bag – For those looking to take photo gear, etc and are looking to go down to Beaver Falls, you will have to do some water crossings. So keep all your expensive and important items dry with a good dry bag. Mine was a 40 liter backpack, worked great as a day pack and folded up nicely in my main pack for easy transport.
- Bathing suit – No matter how cold that water is, you are definitely going to want to get it!
- Towel – There are no towels available to rent so bring your own. And the lodge towels are tiny.
- Camping gear – For those staying at the campsite, it’s bare bones so you’ll need a tent, sleeping bag or sleeping mat, pillow, etc. Plus you’ll need to bring whatever you need to use the facilities, etc.
- Headlamps – In case you get caught hiking into the night back to camp, town or out of the canyon for some reason, you’re going to want a hands free light source.
- Photo gear – Be it your phone, go pro or pro gear, bring all the chargers, solar if you’re camping, and take lots of photos. Drones aren’t allowed in the canyon so leave those at home.

- Packing cubes – I swear by packing cubes no matter where I go but never where they more handy than packing my backpack. Everything stayed organized and I was able to easily switch from large pack to daypack with ease.


Outside of that, pack as light as you can because the heavier the pack, the harder the hike. Lightweight, water resistant and sweat wicking, convertible pants are a better option over cotton as cotton is hard to dry and can chafe. Opt for light, reflective colors and honestly, pack smart and functional, not fashionable. You’ll regret not choosing comfy and useful items.
As far as planning for the trip, give yourself the gift a restful sleep the night before your hike as well as after. We stayed at a hotel on historic Route 66 called Grand Canyon Caverns Inn.that happened to be the closest hotel to the Havasupai trailhead (still an hour from the parking lot trailhead). It was cute, clean and had plenty of fun things to do from a fun cavern tour, a cute restaurant and a little market for last minute supplies. You can even spend the night in the cavern suite if you’re brave enough! We stayed there the night before our hike and the night we hiked out so we didn’t have a long drive to deal with on hiking days.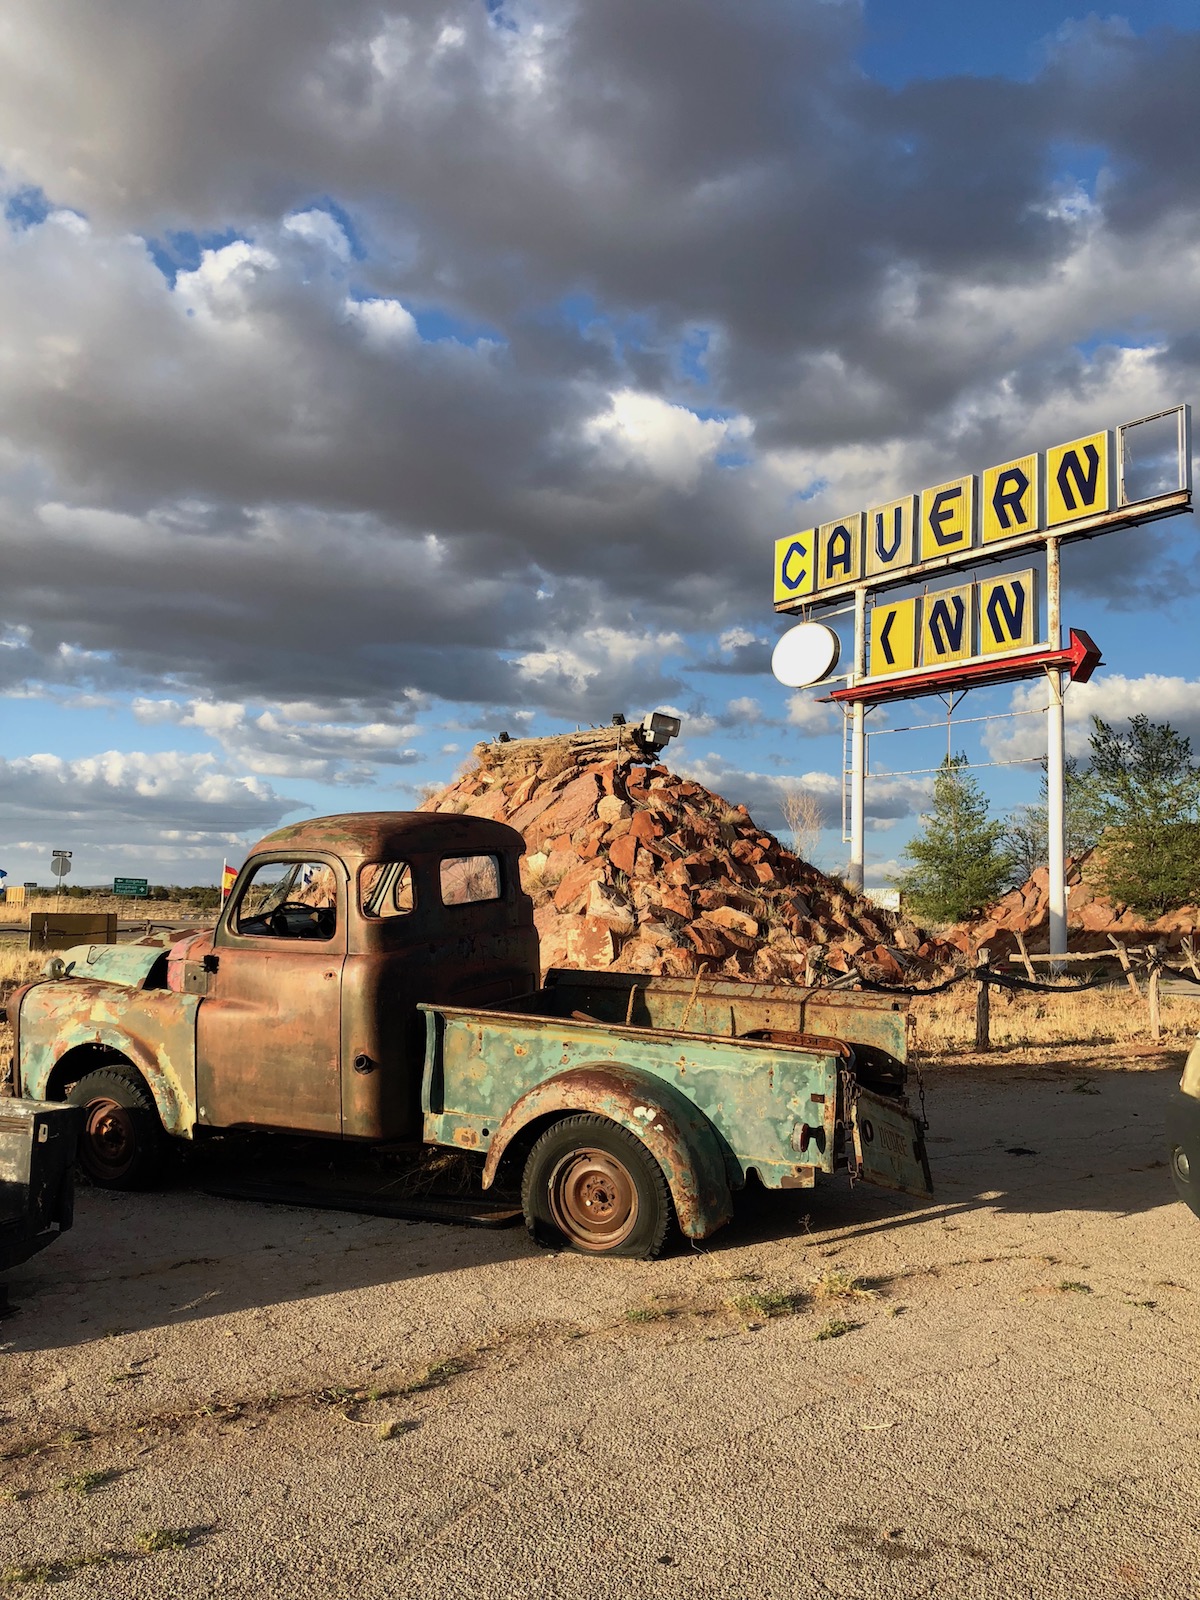
Despite the trailhead parking lot having 24 hour security, be sure you don’t leave any valuables in the car as you car will be there for a minimum of 24 hours and the lot fills up fast. Some have to park a mile away and those cars are unattended.
As mentioned, you can’t reserve the helicopter ride or the mules so if you’re hoping to make your way into the canyon that way, you have to arrive early and have some luck on your side. The reason being that if you don’t catch a ride down, you will have to hike down once they end rides and that means hiking in the heat of the middle of the day and into the night, which is actually prohibited. And because your permit is for specific days, if you miss a ride, you stand the chance of losing the day on the trail. They do check for permits at the trailhead and if you are caught in the canyon without the permit or with an expired one, there is a hefty fee and they make you hike out.
Supplies and services are incredibly limited so please, don’t rely on what’s down there. Plan ahead, come prepared and you will have the adventure of a lifetime! It’s totally worth it!